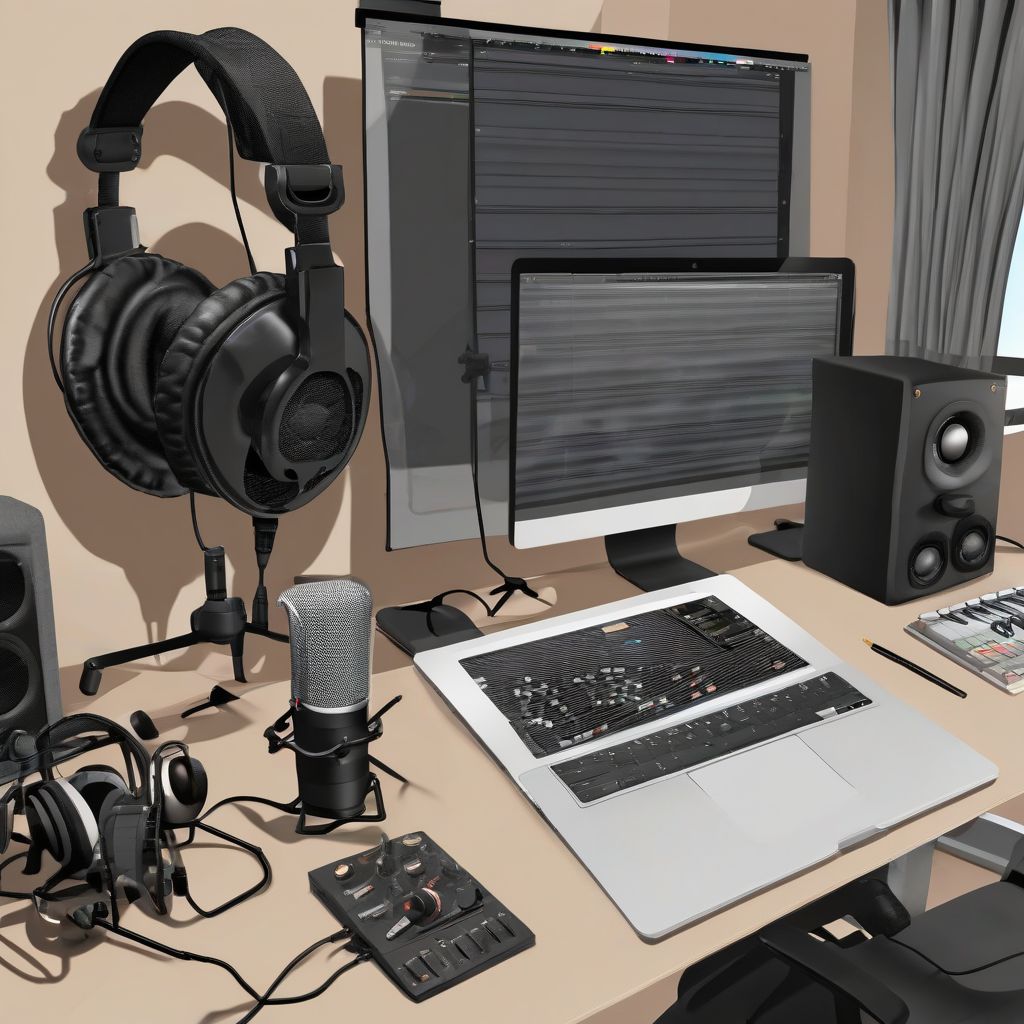
Have you ever dreamt of capturing studio-quality sound without leaving the comfort of your home? Imagine producing crisp vocals, crystal-clear instrumentals, and polished audio that rivals professional studios – all within your own space. It might seem like magic, but achieving professional-quality recordings at home is entirely possible with the right knowledge and setup.
Understanding the Fundamentals of Sound
Before diving into the technical aspects, let’s grasp the foundation of sound itself. Sound travels in waves, and these waves interact with your recording environment. The shape, size, and materials of your room all play a crucial role in how sound behaves. Reflections, also known as echoes, can muddy your recordings, while unwanted vibrations can introduce unpleasant noises.
Building Your Home Studio: Essential Equipment
1. Microphone: The Heart of Your Setup
Choosing the right microphone is paramount. Different microphones excel in capturing various sound sources.
- Condenser microphones are renowned for their sensitivity and accuracy, making them ideal for vocals and acoustic instruments.
- Dynamic microphones are robust and handle high sound pressure levels, making them suitable for drums and loud instruments.
2. Audio Interface: The Bridge Between Sound and Computer
An audio interface acts as the intermediary between your microphone and your computer. It converts analog audio signals into digital information that your computer can understand.
- Focus on quality preamps: The preamplifier within your interface directly impacts the clarity and detail of your recordings. Investing in an interface with high-quality preamps ensures a cleaner and more professional sound.
3. Digital Audio Workstation (DAW): Your Virtual Studio
Think of your DAW as your virtual recording studio. It’s the software where you record, edit, mix, and master your audio. Popular DAWs include:
- Audacity (Free): A fantastic free option with a surprising amount of functionality.
- GarageBand (MacOS): A user-friendly option pre-installed on Apple devices.
- Logic Pro X (MacOS): A more advanced option with a plethora of professional features.
- Ableton Live: Excellent for electronic music production and live performance.
- Pro Tools: An industry-standard DAW known for its powerful editing capabilities.
4. Headphones and Studio Monitors: Accurate Monitoring is Key
- Closed-back headphones: These isolate the sound, preventing leakage and ensuring accurate monitoring during recording.
- Studio monitors: These speakers are specifically designed for accurate audio reproduction. Invest in a pair that provides a flat frequency response, allowing you to hear your mix objectively.
Acoustics: Transforming Your Space into a Sound Haven
1. Taming Reflections with Acoustic Treatment
Acoustic treatment is crucial for controlling sound reflections within your recording space. Common acoustic treatment solutions include:
- Acoustic panels: These foam or fiberglass panels absorb sound waves, reducing reflections and controlling reverberation.
- Bass traps: Strategically placed in corners, bass traps absorb low-frequency sound waves, preventing muddy bass frequencies.
- Diffusers: These scatter sound waves, creating a more balanced and natural-sounding room.
2. Microphone Placement: Experiment for the Sweet Spot
The position of your microphone relative to the sound source significantly impacts the recorded sound. Experiment with different microphone placements to find the sweet spot that captures the best tone and balance.
Recording Techniques: Capturing Pristine Audio
1. Setting Levels: Finding the Sweet Spot
Proper gain staging is essential to avoid clipping, a distortion that occurs when audio signals are too loud. Adjust the input gain on your audio interface to ensure a strong signal without clipping.
2. Pop Filters and Shock Mounts: Minimizing Unwanted Noise
- Pop filters: These screens reduce plosives – those bursts of air from “p” and “b” sounds – resulting in cleaner vocal recordings.
- Shock mounts: These isolate your microphone from vibrations, preventing unwanted rumbling noises in your recordings.
Editing and Mixing: Polishing Your Sound
1. Editing: Fine-Tuning Your Performance
Editing involves cleaning up your recordings by removing unwanted noises, correcting timing errors, and arranging takes for the best performance.
2. Mixing: Balancing the Sonic Landscape
Mixing is where you balance the volume levels of individual tracks, apply equalization (EQ) to shape the frequency content, add effects like reverb and delay, and create a cohesive and polished sound.
Mastering: Finalizing Your Masterpiece
Mastering is the final stage of audio production. It involves subtle adjustments to the overall mix, ensuring optimal loudness, clarity, and sonic balance across different playback systems.
Conclusion
Creating professional-quality recordings in your home studio is an achievable goal with the right knowledge, equipment, and dedication. By understanding the fundamentals of sound, investing in essential equipment, treating your acoustic space, and implementing proper recording techniques, you can transform your home studio into a creative powerhouse. Remember, practice makes perfect! Experiment, refine your skills, and let your creativity flourish in the comfort of your own recording space.
 Home Recording Studio
[amazon bestseller=”home recording studio equipment”]
