Have you ever wondered why some home recordings sound amazing, while others seem to fall short, regardless of the equipment used? The secret ingredient often lies in something beyond fancy microphones and software: room acoustics. Just like a well-designed concert hall enhances a musical performance, a room with good acoustics can dramatically elevate your recording quality.
Understanding the Basics: How Room Acoustics Affect Sound
When you record in a room, sound waves from your instrument or voice don’t just disappear into thin air. They bounce off the walls, ceiling, floor, and every object in the space. These reflections, depending on the room’s characteristics, can either enhance or muddy your recordings.
Common Acoustic Problems and Their Impact:
- Reverberation: Too much reverb makes your recording sound distant and unclear, like it’s trapped in a box. This happens when sound waves keep bouncing around, creating a lingering tail.
- Echo: A distinct, delayed repetition of a sound, echoes are particularly problematic in rooms with large, bare surfaces.
- Standing Waves: These occur when sound waves of specific frequencies resonate between parallel surfaces, leading to uneven amplification of certain frequencies, making your recording sound unbalanced.
- Flutter Echo: A rapid series of echoes, often described as a “ringing” sound, occurs when sound bounces back and forth between parallel surfaces.
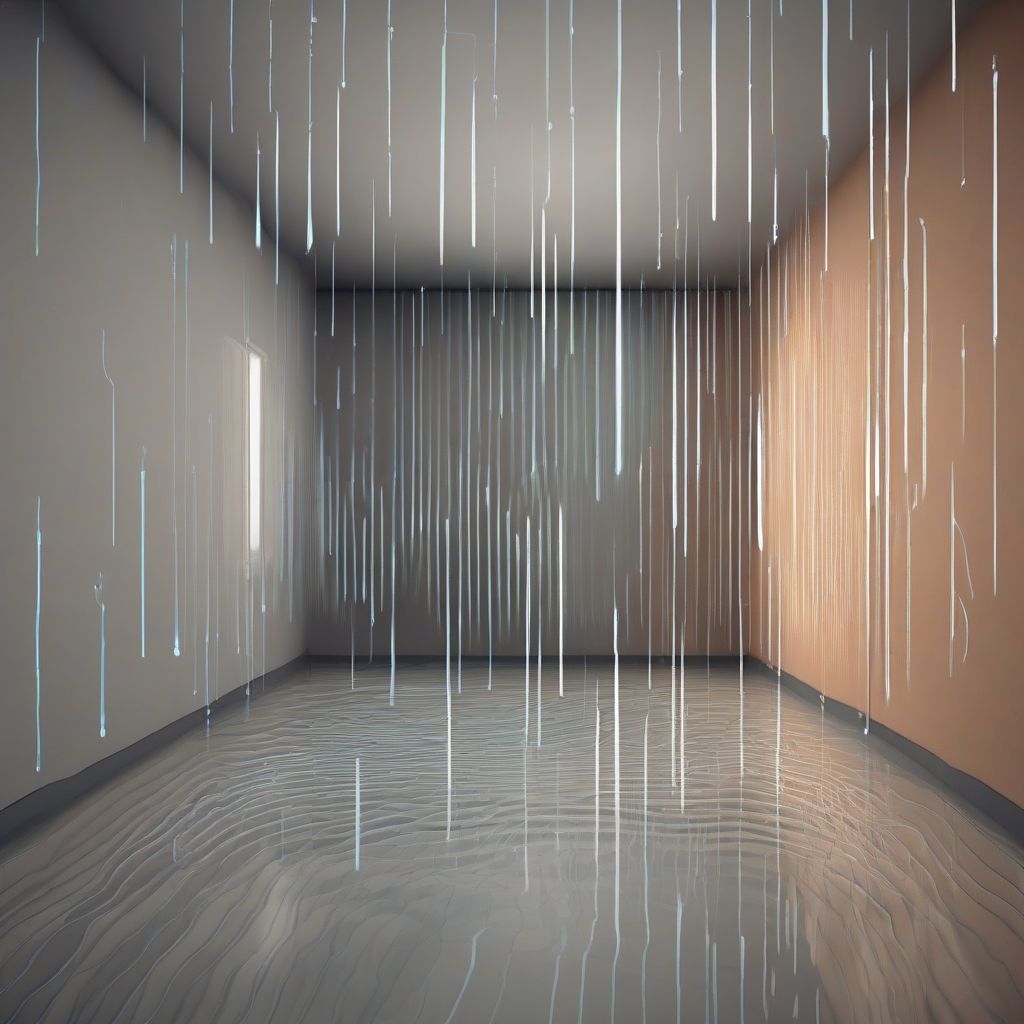
 Sound Reflecting Off Walls
These problems interfere with the clarity and definition of your recordings. Imagine trying to enjoy a delicious meal in a noisy restaurant; the background noise makes it hard to appreciate the flavors. Similarly, poor acoustics clutter your recordings, masking the details and nuances of your sound.
Why Good Room Acoustics Matter for Recording
Now that we understand the challenges, let’s explore why prioritizing room acoustics is crucial for achieving professional-sounding recordings:
- Improved Clarity and Definition: Good acoustics minimize unwanted reflections and resonances, allowing each note, word, and subtle detail to shine through with pristine clarity.
- Enhanced Stereo Imaging: A well-treated room creates a more accurate stereo image, allowing listeners to perceive the spatial positioning of instruments and vocals in a recording with greater accuracy.
- Balanced Frequency Response: Minimizing standing waves and other anomalies ensures that all frequencies are represented accurately, resulting in a natural and balanced sound.
- Reduced Need for Excessive Processing: When you record in a well-treated room, you’ll need less equalization, compression, and other effects to “fix” acoustic problems, leading to a cleaner and more natural sound.
Practical Steps to Improve Your Room Acoustics
You don’t need a professional studio to achieve great-sounding recordings. Here are practical steps to significantly improve your room acoustics:
1. Identify Problem Areas:
- Clap Test: Stand in the center of your room and clap your hands loudly. Listen for any excessive reverberation, echoes, or flutter echoes. This will help you pinpoint areas that need treatment.
2. Acoustic Treatment is Key:
- Absorption: Acoustic panels, bass traps, and even strategically placed furniture like bookshelves can absorb excess sound energy, reducing reverb and controlling reflections.
- Diffusion: Diffusers scatter sound waves, preventing echoes and creating a more balanced sound.
- Decoupling: Isolate your speakers and recording equipment from the floor and other surfaces using isolation pads or stands to minimize vibrations that can muddy your recordings.
[amazon bestseller=”acoustic panels”]
3. Strategic Furniture Placement:
- Experiment with positioning: Moving furniture around can alter the sound reflections in your room.
- Utilize soft furnishings: Couches, carpets, and curtains can help absorb sound and reduce unwanted reflections.
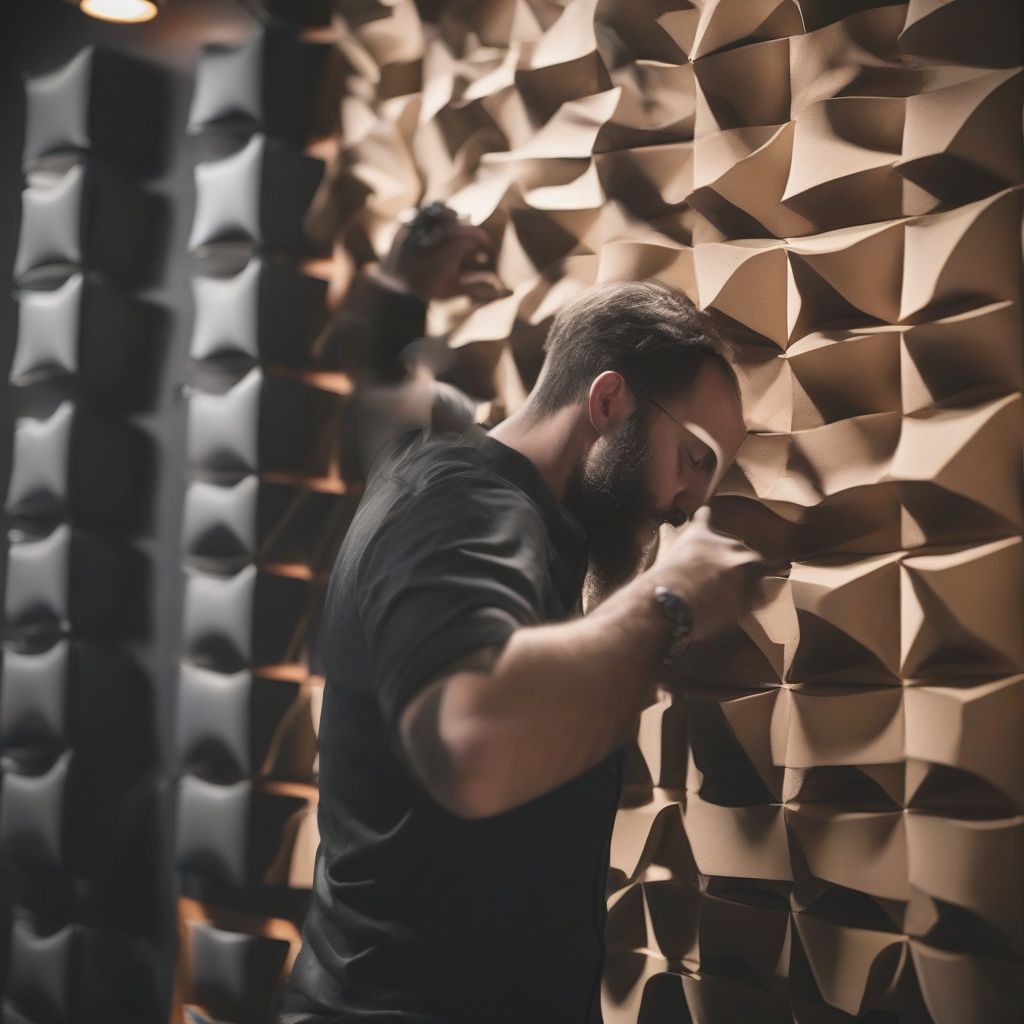
 Musician Adjusting Acoustic Panels
4. Consider the Room’s Shape:
- Irregular shapes: Rooms with irregular shapes tend to have better acoustics than perfectly square or rectangular ones as they minimize standing waves.
5. Don’t Neglect the Recording Setup:
- Microphone Positioning: Experiment with microphone placement to find the sweet spot in your room where the instrument or voice sounds best.
- Pop Filters and Reflection Filters: These tools help reduce plosives (harsh “p” and “b” sounds) and minimize unwanted reflections from reaching the microphone.
Conclusion
Remember, achieving professional-sounding recordings doesn’t have to break the bank. By understanding the impact of room acoustics and implementing practical solutions, you can transform your recording space and elevate the quality of your audio productions. So, before you hit the record button, take the time to listen to your room. It might just hold the key to unlocking your best recordings yet!
What steps are you taking to improve the acoustics in your recording space? Share your experiences and questions in the comments below!
