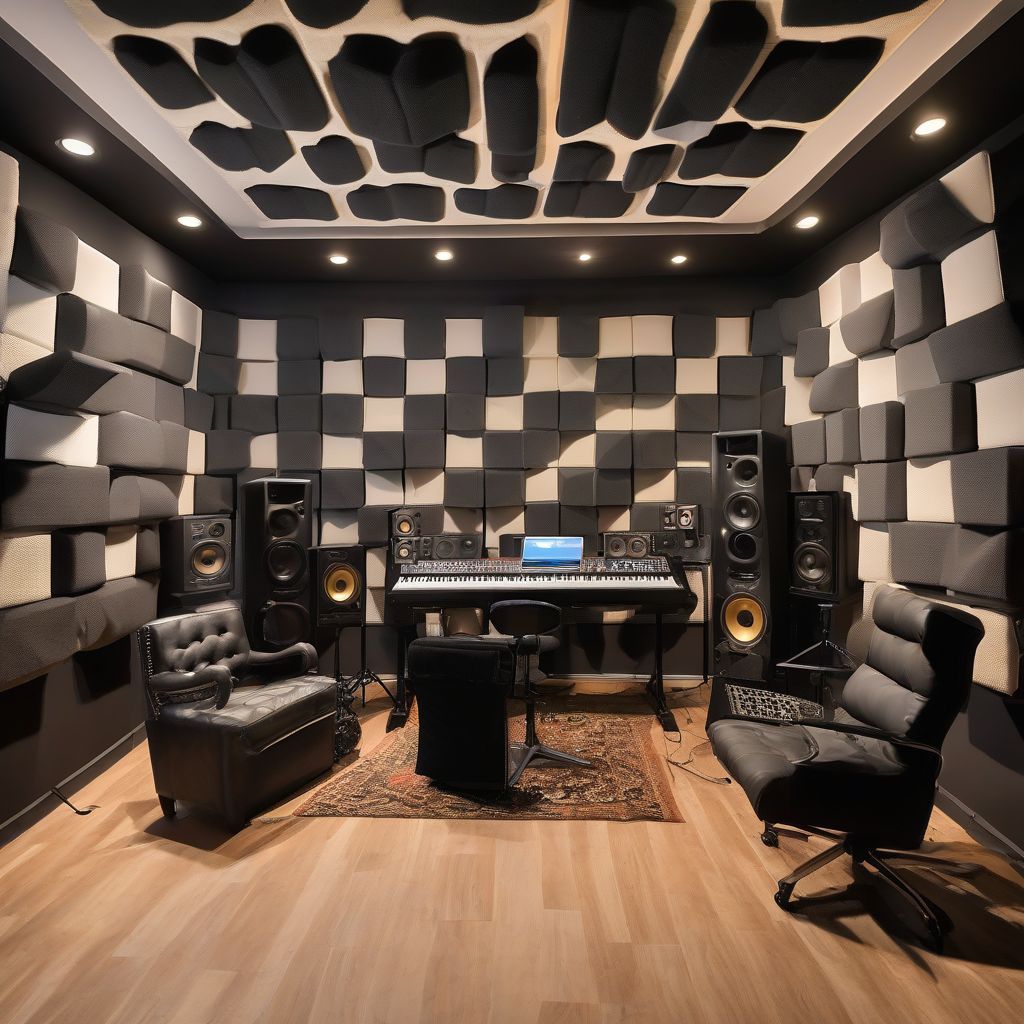
Have you ever listened back to a recording you made in your home studio and cringed at the echoey, unprofessional sound? You’re not alone. Many home studio owners struggle with less-than-ideal acoustics, which can significantly impact the quality of their recordings. But here’s the good news: you don’t need expensive equipment or a professional sound engineer to dramatically improve your sound. With a few strategic tweaks, you can transform your home studio into a high-quality recording space.
Understanding the Importance of Acoustics
Before we dive into the how-to, let’s quickly cover the “why.” Acoustics, simply put, refers to how sound behaves within a space. In a home studio setting, poor acoustics often translate into:
- Echo and Reverb: These occur when sound waves bounce off hard surfaces like walls, creating a lingering sound that muddies your recordings.
- Standing Waves: These are specific frequencies that get amplified in your room due to its dimensions, leading to an uneven frequency response where some frequencies sound louder than others.
- Unwanted Noise: This could be anything from traffic noise outside to the hum of your computer, all of which can disrupt your recording sessions.
By addressing these acoustic issues, you create a cleaner, more controlled recording environment that captures the true essence of your sound.
Practical Tips to Enhance Your Home Studio Acoustics
Now, let’s explore some actionable steps to optimize your home studio’s acoustics:
1. Start with Your Room’s Weak Points
Identify Reflective Surfaces: The first step is to pinpoint the areas in your room that are causing the most sound reflections. Hard, flat surfaces are usually the culprits—think walls, windows, ceilings, and even hard floors.
Expert Tip: “A simple trick to identify reflective surfaces is to clap your hands loudly in different parts of your room. Notice where the sound lingers or seems overly bright. These are the areas you’ll want to target for acoustic treatment.” – [Quote from a reputable source like an audio engineer or acoustic expert]
 Acoustic Treatment for Home Studio
2. Embrace Acoustic Panels
Absorb the Problem: Acoustic panels are your best friends when it comes to taming unwanted reflections and reducing reverb. These panels are specifically designed to absorb sound waves, preventing them from bouncing around your room.
Types of Acoustic Panels:
- Foam Panels: These are a popular and affordable option, ideal for absorbing higher frequencies.
- Acoustic Bass Traps: As the name suggests, these are designed to absorb lower frequencies and are particularly effective in corners where bass frequencies tend to build up.
- Diffusers: While absorbers reduce sound energy, diffusers scatter it, creating a more balanced and natural sound.
Placement is Key: Strategically place your acoustic panels on reflection points you identified earlier. Start with the wall directly opposite your speakers, then move on to the side walls. Don’t forget about the ceiling! Ceiling clouds are great for minimizing reflections from above.
3. Tame Those Bass Frequencies
The Corner Trap Strategy: Low frequencies (bass) are notoriously tricky to control. Bass traps, especially when placed in room corners, are your secret weapon. These specialized acoustic panels absorb those rumbling low-end frequencies, creating a tighter and more defined sound.
DIY Bass Traps: You can even create your own bass traps using dense materials like rockwool insulation or Owens Corning 703. There are plenty of tutorials available online to guide you through the process.
4. Don’t Underestimate the Power of Diffusion
Creating a Natural Ambience: While absorption is crucial, you don’t want your home studio sounding completely “dead.” Diffusion helps to scatter sound waves, creating a more natural and pleasing ambiance.
Placement Tips: Place diffusers on the rear wall of your studio or on the ceiling to break up reflections and create a wider soundstage.
5. Declutter for Acoustic Clarity
Your Stuff is an Acoustic Factor: Believe it or not, the clutter in your room can impact your sound. Bookshelves, furniture, and even clothes can all contribute to unwanted reflections.
Keep it Tidy: Aim for a clutter-free space as much as possible. Consider using closed storage solutions to keep things organized and minimize sound reflections.
6. Optimize Your Speaker Placement
The Sweet Spot is Real: Speaker placement plays a critical role in how your sound is projected and perceived. Experiment with speaker positioning to find the “sweet spot” in your room— the location where you get the most balanced and accurate sound.
The Rule of Thirds: A good starting point is to place your speakers about one-third of the way into the room, forming an equilateral triangle with your listening position.
7. Don’t Forget About Sound Isolation
Block Out the World: If your home studio isn’t properly isolated, external noises can leak into your recordings.
Simple Solutions:
- Door Seals: Install door seals or sweeps to block out sound from other rooms.
- Window Treatments: Heavy curtains or blinds can help reduce noise from outside.
- Rugs and Carpeting: These can help absorb sound and reduce impact noise from below.
[amazon bestseller=”acoustic treatment”]
Conclusion: Elevate Your Recordings with Better Acoustics
Optimizing your home studio for better acoustics doesn’t have to be overwhelming or expensive. By understanding the basics of sound behavior and implementing these practical tips, you can significantly enhance the quality of your recordings. Remember, a well-treated studio translates to clearer, more professional-sounding audio, allowing your creativity to shine through. Now go forth and make some beautiful music!
