Have you ever dreamt of capturing studio-quality sound without leaving the comfort of your home? What was once a luxury reserved for professionals is now achievable for everyone with the right equipment and know-how. Setting up your own home recording studio might seem daunting, but it doesn’t have to be. This guide will walk you through everything you need to transform your space into a creative haven for recording music, podcasts, or any other audio project you can dream up.
1. Acoustic Treatment: Taming the Room
Before you even think about microphones or software, remember this golden rule: your room is an instrument. Just like a poorly tuned guitar can ruin a song, a room with poor acoustics can sabotage your recordings.
Understanding Sound Reflections
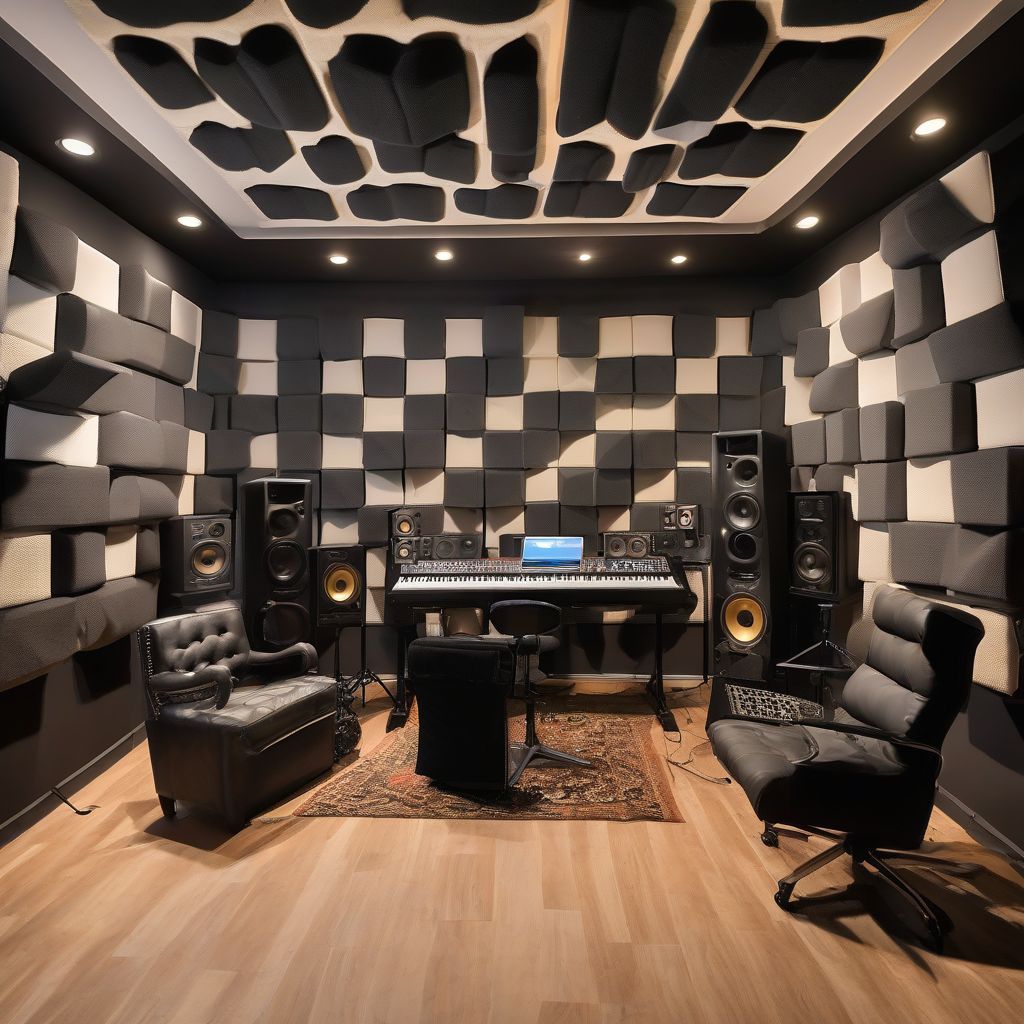
When sound waves hit hard surfaces in your room, they bounce back, creating reflections. These reflections interfere with your microphone, causing unwanted echoes and muddying your sound. This is where acoustic treatment comes in.
Absorption, Diffusion, and Bass Traps
- Absorption Panels: These are your first line of defense. Made from sound-absorbing materials, they reduce echoes and reverb, particularly in the mid and high frequencies.
- Diffusers: While absorbers reduce sound energy, diffusers scatter it, creating a more balanced and natural sound.
- Bass Traps: Low-frequency sounds (bass) are notoriously tricky to control. Bass traps are strategically placed in corners to absorb these frequencies and prevent muddy recordings.
DIY vs. Professional Solutions
You can find DIY solutions using household items like blankets and bookshelves. However, for the best results, consider investing in professional acoustic panels and bass traps.
 Acoustic Treatment for Home Studio
2. Choosing the Right Microphone
The microphone is your voice (or your instrument’s voice) in the digital world. Selecting the right one depends on what you’re recording.
Condenser Microphones
- How they work: Condenser mics use a thin diaphragm that vibrates in response to sound waves. They’re known for their sensitivity and detailed sound reproduction.
- Best for: Vocals, acoustic instruments, podcasts, and situations where you need to capture a wide range of frequencies.
Dynamic Microphones
- How they work: Dynamic mics use a moving coil within a magnetic field to generate an electrical signal. They’re more rugged and can handle high sound pressure levels.
- Best for: Live performances, drums, electric guitars, and sources with loud transients.
USB vs. XLR Microphones
- USB Microphones: These are plug-and-play, making them great for beginners. They have built-in preamps and converters, simplifying the recording process.
- XLR Microphones: These require an audio interface (more on that later), but they offer higher quality and more flexibility.
[amazon bestseller=”USB microphone”]
3. The Audio Interface: Your Studio’s Command Center
An audio interface acts as the bridge between your microphone (and instruments) and your computer. It converts analog signals to digital ones and vice versa.
Key Features to Look For:
- Microphone Preamps: Essential for boosting the signal from your microphone to a usable level.
- Phantom Power: Necessary for powering condenser microphones.
- Headphone Output: Allows you to monitor your recordings in real-time.
- Direct Monitoring: Eliminates latency (delay) when recording.
- Number of Inputs and Outputs: Choose based on how many tracks you’ll be recording simultaneously.
4. Digital Audio Workstation (DAW) Software
Your DAW is the heart of your studio, where you record, edit, mix, and master your audio.
Popular DAW Options
- Logic Pro X (Mac only): Powerful and intuitive, known for its vast collection of instruments and effects.
- Ableton Live: Popular for electronic music production and live performance.
- Pro Tools: The industry-standard, renowned for its versatility and professional features.
- Cubase: Feature-rich DAW with a steep learning curve but immense creative potential.
- Studio One: User-friendly with a powerful feature set.
Choose What Suits Your Needs
The best DAW is the one that clicks with your workflow. Experiment with free trials to find what you like best.
5. Monitoring: Hearing What You’re Creating
Studio monitors (speakers) are designed to give you an accurate representation of your audio.
Choosing the Right Monitors
- Frequency Response: Look for monitors with a flat frequency response to ensure you’re hearing all frequencies evenly.
- Active vs. Passive: Active monitors have built-in amplifiers, while passive ones require an external amplifier.
- Size and Power: Consider the size of your room and your budget.
Headphones: Your Private Monitoring Solution
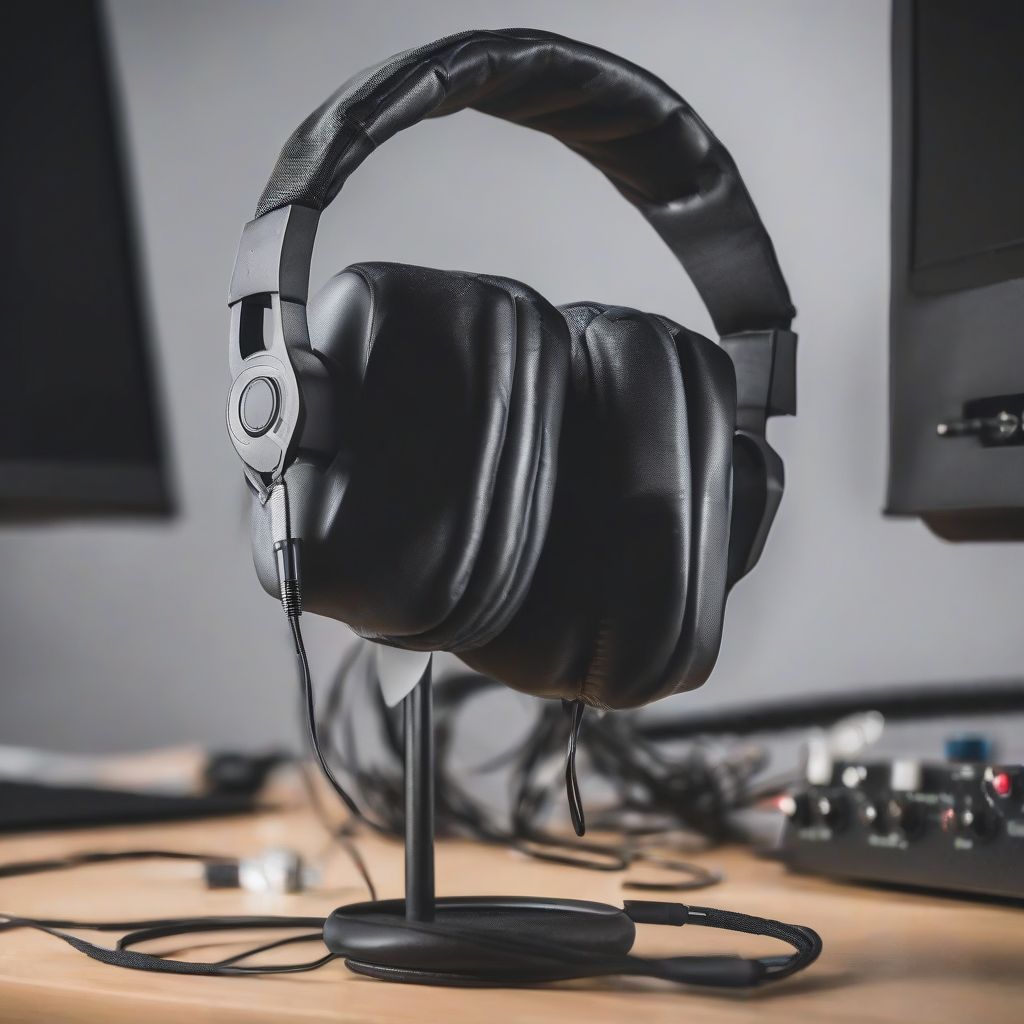
A good pair of closed-back headphones is crucial for tracking vocals and instruments without sound bleeding back into the microphone.
 Studio Monitors and Headphones
6. Essential Accessories
No studio is complete without a few key accessories:
- Pop Filter: Prevents plosives (harsh “p” and “b” sounds) from hitting your microphone.
- Microphone Stand: Keeps your microphone stable and in the right position.
- Cables: High-quality XLR cables for connecting your microphone and audio interface.
- Reflection Filter: A portable solution for reducing reflections in untreated rooms.
- MIDI Keyboard: Useful for recording virtual instruments and controlling your DAW.
Conclusion: Your Home Studio Awaits
Setting up a professional-quality home recording studio is an investment in your creativity. Remember that Rome wasn’t built in a day, and neither is a perfect studio. Start with the basics, gradually upgrade your equipment, and most importantly, have fun experimenting and exploring the world of audio production!
What are your experiences with home recording? Share your thoughts and questions in the comments below!
