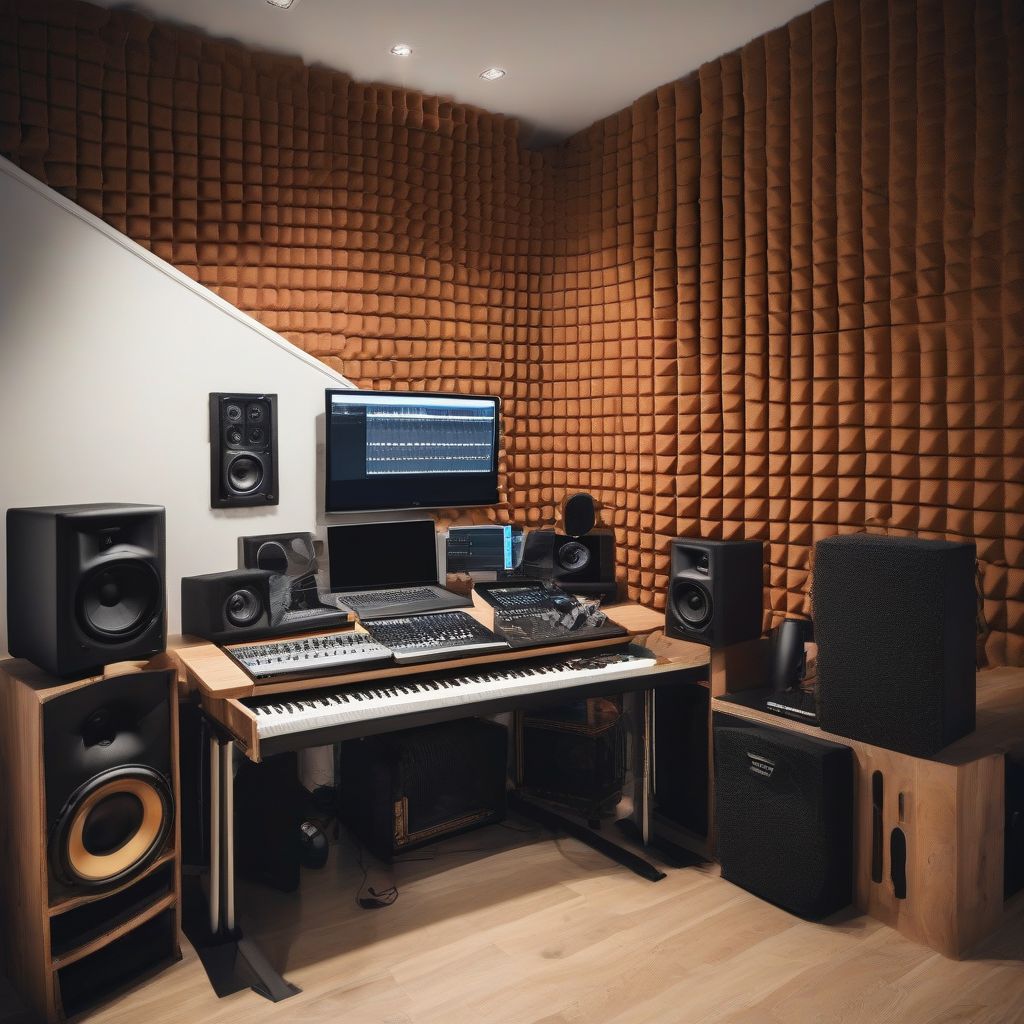
Imagine this: you’re finally living the dream. You’ve poured your heart and soul into building your own home studio, a space where creativity can flourish. You hit record, lay down a track, and then… disappointment. The recording sounds flat, echoey, and unprofessional. What went wrong?
It’s not your gear, it’s your room. Just like eating healthy fuels your body, acoustic treatment fuels good sound. It’s the secret ingredient that takes your studio from amateur to amazing, drastically improving the accuracy and professional polish of your recordings.
What is Acoustic Treatment and Why Should You Care?
Acoustic treatment isn’t about making your studio silent; it’s about controlling sound reflections within the space. These reflections, if left untreated, cause problems like:
- Standing waves: Certain frequencies build up unevenly, leading to an inaccurate and “boomy” low-end response.
- Flutter echo: Repetitive ringing sound caused by sound bouncing back and forth between parallel surfaces.
- Comb filtering: When direct and reflected sound waves interfere, resulting in a phasey, unnatural sound.
These issues make it difficult to mix and master properly, as you’re not hearing a true representation of your music. Acoustic treatment tames these problems, resulting in:
- A more accurate frequency response: You hear the true sound of your instruments and vocals, leading to better recording and mixing decisions.
- Reduced reverberation: A controlled decay time creates a more intimate and professional sound, preventing muddiness and improving clarity.
- Improved stereo imaging: With fewer unwanted reflections, your mixes will have a wider and more defined stereo image, making them more immersive for the listener.
 Acoustic Treatment in Studio
Types of Acoustic Treatment: Finding the Right Tools for the Job
Just like a well-balanced meal, effective acoustic treatment uses a combination of different elements:
1. Absorption: These materials soak up sound energy, preventing it from reflecting back into the room. Common absorbers include:
- Acoustic foam panels: Affordable and widely available, they’re great for treating mid and high frequencies.
- Bass traps: Specifically designed to absorb low-frequency energy and control booming sounds in corners where they tend to build up.
- Broadband absorbers: Thicker panels that can effectively absorb a wider range of frequencies.
2. Diffusion: Instead of absorbing sound, diffusers scatter it in different directions, creating a more balanced and natural sound.
- Diffusers: Come in various shapes and materials, effectively scattering high and mid frequencies to prevent flutter echo and create a sense of spaciousness.
3. Isolation: This focuses on preventing sound from entering or exiting the studio, essential for recording vocals or loud instruments:
- Acoustic seals: Applied around windows and doors to block sound leakage.
- Isolation pads: Placed under studio monitors to reduce vibration transfer.
Creating Your Acoustic Treatment Plan: It’s Not One-Size-Fits-All
The best acoustic treatment plan depends on your room’s size, shape, and existing materials. However, here’s a general approach:
1. Identify Reflection Points: Use the “mirror trick.” Have a friend hold a mirror against the wall while you sit in your listening position. Any spot where you see your studio monitors in the mirror is a primary reflection point that needs treatment.
2. Start with Absorption: Begin by placing absorber panels on those primary reflection points, covering about 20-30% of the wall surface area.
3. Tackle the Bass: Add bass traps in the corners of your room, as that’s where low frequencies tend to accumulate.
4. Introduce Diffusion: Strategically place diffusers on the ceiling or back wall to create a more balanced sound field and prevent the room from sounding overly “dead.”
Don’t Forget the Finishing Touches
Just like seasoning elevates a dish, these additional tips will take your acoustic treatment to the next level:
- Consider room layout: Experiment with different speaker and listening positions to find the optimal soundstage within your treated room.
- Use furniture strategically: Bookshelves, rugs, and even curtains can contribute to sound absorption and diffusion.
- Measure your results: Use acoustic measurement software to analyze your room’s response and fine-tune the placement of your treatment.
The Investment that Pays Off
While the initial investment in acoustic treatment might seem daunting, consider it an investment in your sound and your sanity. It’s like having a personal chef for your ears, ensuring you always have a delicious and satisfying listening experience.
[amazon bestseller=”acoustic panels for studio”]
By controlling sound reflections, you’ll uncover the true potential of your studio, creating professional-quality recordings and mixes that truly shine. Ready to transform your sound? It all starts with understanding the power of acoustic treatment.
